Cyperspikes
My own take on Adafruit's Cyberpunk spikes

Browsing the magnificent Adafruit tutorials I came across the Cyberpunk spikes and immediately though of a good friend of mine who was in the middle of a weeks-long cyberpunk inspired role-playing game.
Being always open for a challenge I agreed to build a replica for them, but improving upon adafruit's version. I wanted to add wireless capabilities to change colour and pattern, easy to use snap-connectors for the spike strips, the possibility to add one or two strips and a way to use a universal USB power supply (probably a power bank).
3D Printing the spikes
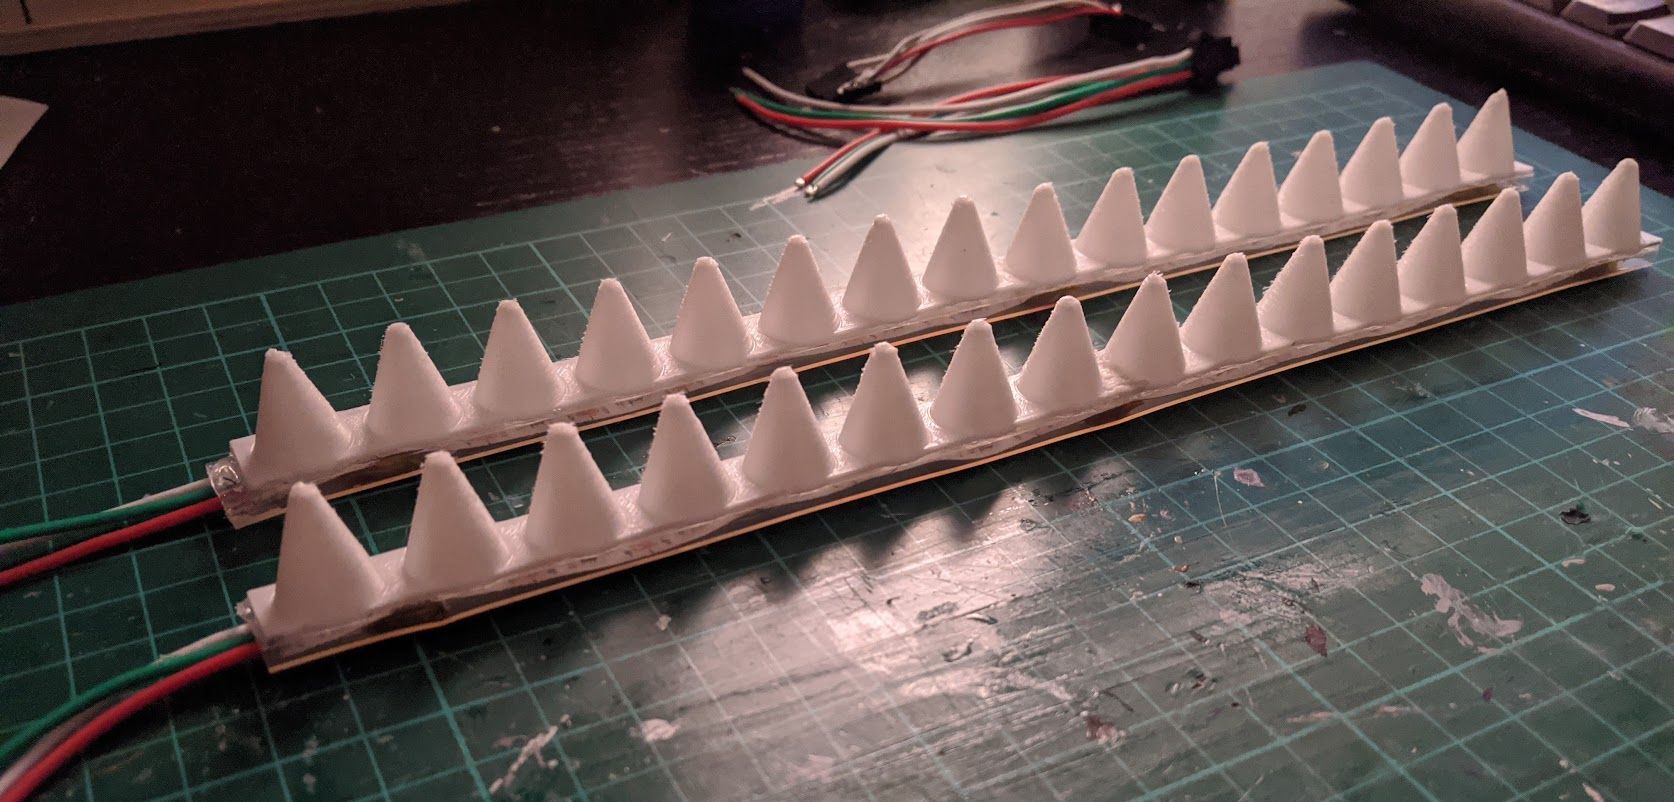
I got some Smartmaterials Flex filament to print the spikes which worked pretty well. The only issue at this stage was fitting the spikes inside my 3D printer bed, which isn't really large. So I split the model in two smaller strips and the fused them together using a soldering iron. The result was better than expected.
Afterwards I simply glued them on top of a waterproof neopixel LED strip and put some magnets on the under-side so that they stay in place when worn.
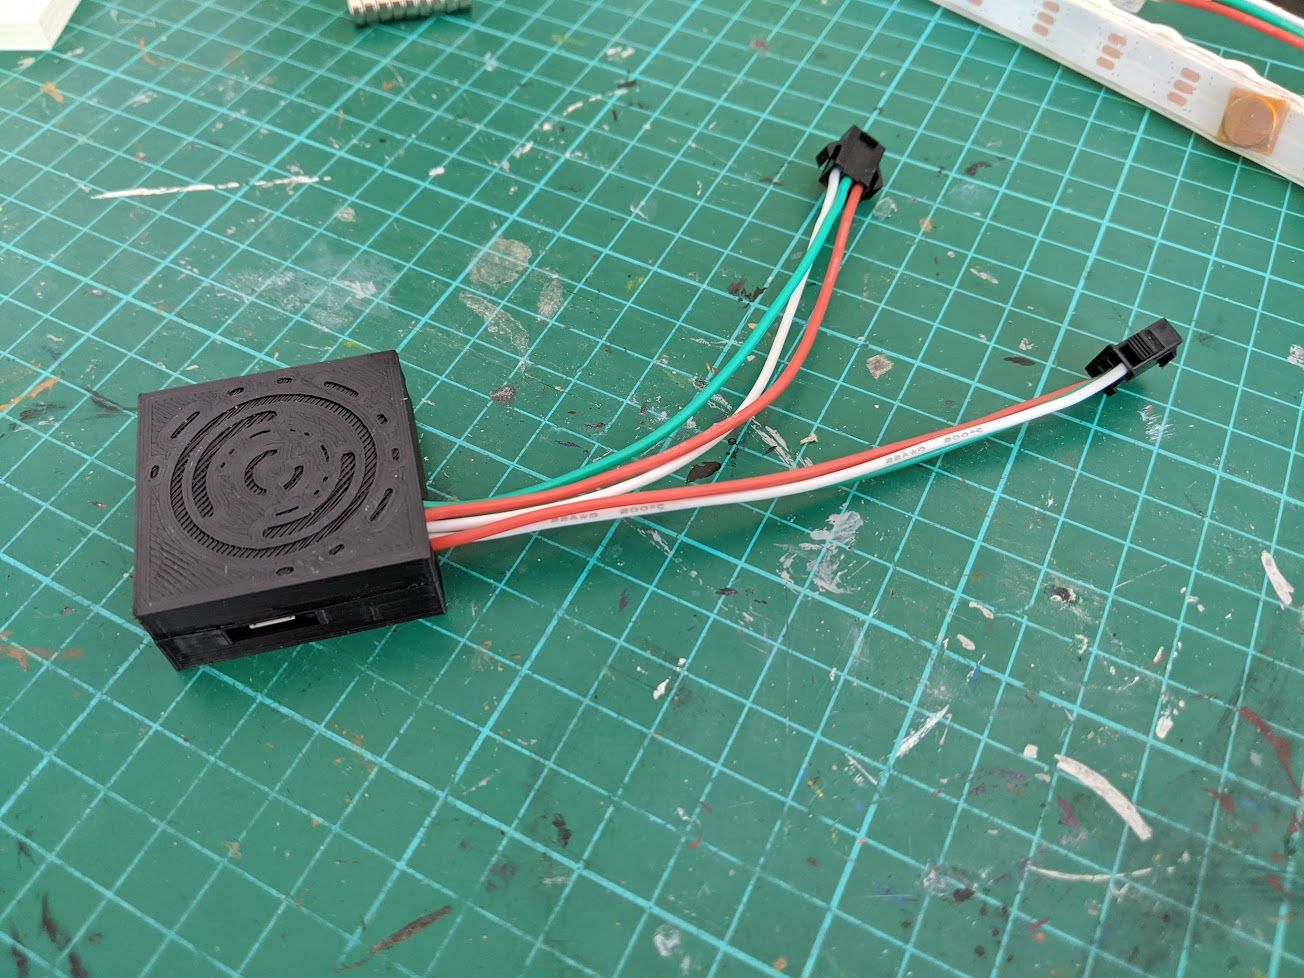
I also 3D printed a simple PLA case to house the microcontroller which would drive the light strips. I added an abstract design to the housing to make it look more cyber.
Electronics
I decided to go for the smallest ESP8266 based development board in order to reduce the controllers footprint and be able to add wireless remote control capabilities to the spikes.
Following this criteria I chose a Wemos D1 mini board. I would only need to use two digital pins for sending the neopixel control commands, and that board even had a 5V port which was really nice to get the power from for the LED strips. Using 3,3V (the only voltage available in many ESP8266 dev boards) would have impacted in the LED's brightness.
Initially I used Adafruit's neopixel library to control the strips, but I found some difficulties which limited what I could do with the cyber-spikes. Looking around I stumbled upon a great LED controller library named FastLED which is incredibly powerful. After studying some of their example programs I picked the patterns I liked most and whipped up a simple program to light up the stripes.
Snap connectors
One of the other improvement I metioned are the snap connectors. I bought a pack of 3 wire male and female connectors and soldered them to the LED strips and the microcontroller which would control them.
The microcontroller would send the secondary light strip the same signal as the primary one, so connecting a single stripe on any of both connectors wouldn't really matter. This way the user could wear a single or a double spike strip.
Remote control
What fun are RGB LEDs you cannot light up as desired? The cyperspikes needed a remote control! But, having to carry an IR blaster with you everywhere isn't the most user-friendly way to do this.
Guess what's in (almost) everybody's pocket: A smartphone. The thing is, I didn't want to make a native app to control the lights, so I decided to make a web app and serve it from the ESP8266 directly.
When booted up the microcontroller sets up a WiFi access point. The user can then connect (temporarily) their phone to the microcontroller and access a webpage its serving, which contains a few buttons to configure the LEDs. Each button sends a POST message to the ESP8266 which changes the light pattern accordingly.