Utsund hack
Adding remote control capabilities to IKEA's Utsund string light

Looking through the Ikea catalog I came upon the UTSUND string light and though about customizing it with some painted cans I had at home. The thing is, I didn't have enough cans for each LED bulb, so I decided to set it up over my couch while I waited to collect the necessary materials to carry out my original idea.
The UTSUND string is battery powered. It stays on for a few ours and automatically powers off. Being a bit of a couch potato I thought of making some sort of remote control for the lights. On the one hand some sort of receiver would be needed on the lights side, and a remote on the other one. Trying to avoid reinventing the wheel and using what`s already available I thought of using my smartphone to control the lights.
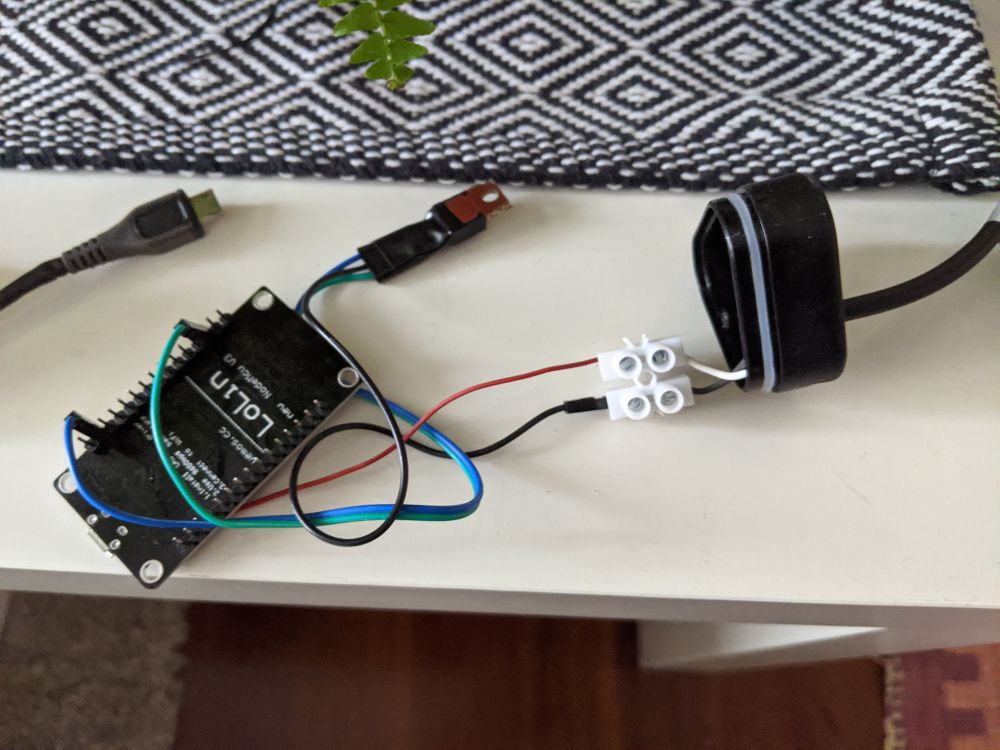
To control the lights I needed a microcontroller and a relay, but with these lights being such an light-powered device a MOSFET would be enough. As wireless-capable microcontroller I chose a NodeMCU based on the ESP8266. The NodeMCU would be connected to my local home WiFi network.
I didn't want to set up any cloud servers for this task, as I wanted a simple solution and had no need to turn the lights on or off when outside my home. Taking this into account and trying to avoid developing a specific app for the smartphone I thought the NodeMCU could act as a server showing a simple webpage to act on the string light. This would also be a universal solution, I could use not only my smartphone but any device to switch the lights on or off without any setup.
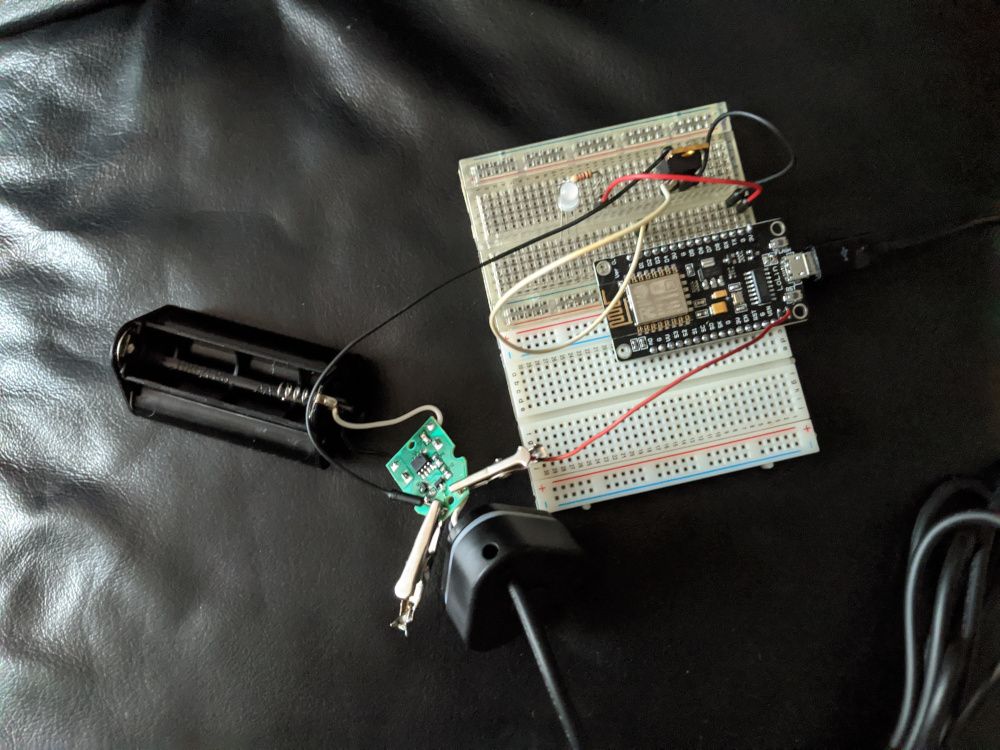
So, taking all of this into account I set up a simple test with a single LED on a breadboard.
Then I connected the same setup to the string light, using the NodeMCU to power the lights directly. The original power source is 3 AA batteries, that would be 4.5V aprox. The NodeMCU operates at 3.3V, but the USB port receives 5V. In order to take advantage of these 5V I soldered a wire to a component skipping the power circuit in the NodeMCU.
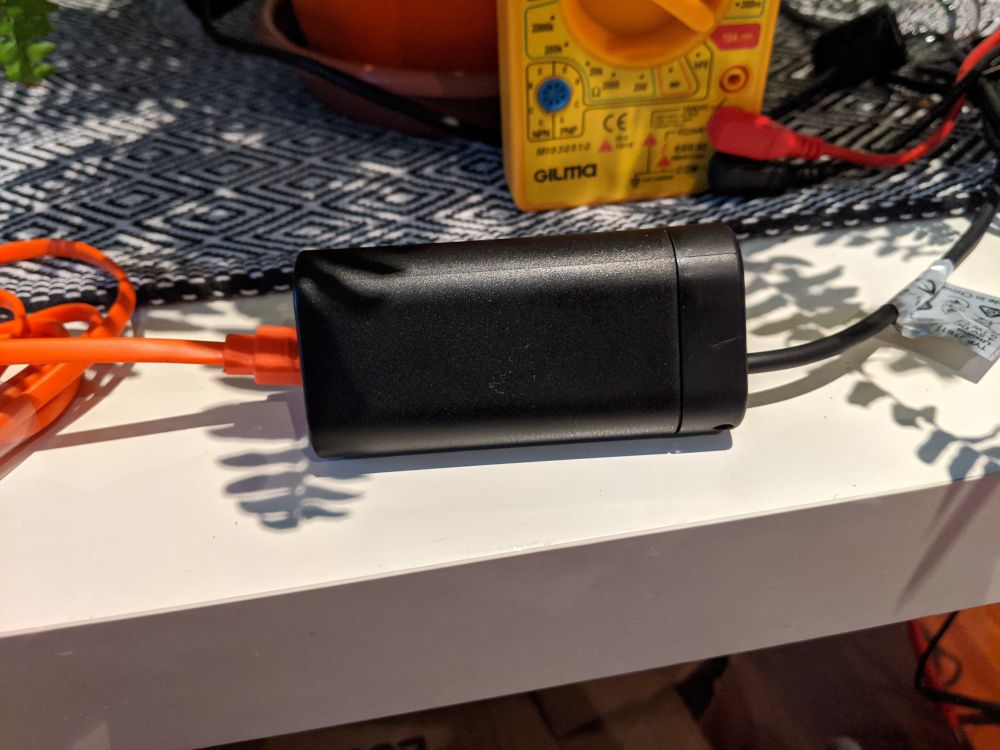
After checking that everything worked OK I made the final connections between the NodeMCU and string light and emptied the batteries case. I reused it to house the microcontroller, MOSFET and wires.
I reused the original Utsund battery case in order to hide the electronics within.